目录
准备工作
- 安装Nginx服务
- 安装Mysql服务
- 搭建PHP运行环境
- 安装Zabbix监控平台
一、准备工作
一、服务器信息
文章源自小柒网-https://www.yangxingzhen.cn/4758.html
|
操作系统文章源自小柒网-https://www.yangxingzhen.cn/4758.html |
服务器IP文章源自小柒网-https://www.yangxingzhen.cn/4758.html |
CPU文章源自小柒网-https://www.yangxingzhen.cn/4758.html |
内存文章源自小柒网-https://www.yangxingzhen.cn/4758.html |
|
CentOS 7.4文章源自小柒网-https://www.yangxingzhen.cn/4758.html |
192.168.0.117文章源自小柒网-https://www.yangxingzhen.cn/4758.html |
1C文章源自小柒网-https://www.yangxingzhen.cn/4758.html |
2G文章源自小柒网-https://www.yangxingzhen.cn/4758.html |
软件版本:
文章源自小柒网-https://www.yangxingzhen.cn/4758.html
Nginx:1.13.4
Mysql:5.7.22
PHP:7.2.9
Zabbix:4.0.7
二、下载软件包
#Nginx软件包
https://mirrors.yangxingzhen.com/nginx/nginx-1.13.4.tar.gz
#Mysql软件包
https://mirrors.yangxingzhen.com/mysql/mysql-5.7.22.tar.gz
#Mysql依赖包
https://mirrors.yangxingzhen.com/mysql/boost_1_59_0.tar.gz
#PHP软件包
https://mirrors.yangxingzhen.com/php/php-7.2.9.tar.gz
#PHP依赖包
https://mirrors.yangxingzhen.com/libiconv/libiconv-1.15.tar.gz
#Zabbix软件包
https://mirrors.yangxingzhen.com/zabbix/zabbix-4.0.7.tar.gz
三、将防火墙与selinux关闭
[root@localhost ~]# systemctl stop firewalld
[root@localhost ~]# systemctl disable firewalld
[root@localhost ~]# sed -i '/SELINUX/s/enforcing/disabled/' /etc/selinux/config
二、安装Nginx服务
1、下载软件包和安装编译工具及依赖包
[root@localhost ~]# yum -y install wget gcc gcc-c++ make pcre-devel pcre perl openssl openssl-devel
[root@localhost ~]# wget -c https://mirrors.yangxingzhen.com/nginx/nginx-1.13.4.tar.gz
2、解压软件包
[root@localhost ~]# tar zxf nginx-1.13.4.tar.gz
3、创建用户和隐藏版本号
[root@localhost nginx-1.13.4]# sed -i 's/1.13.4/ /;s/nginx\//nginx/' src/core/nginx.h
[root@localhost nginx-1.13.4]# useradd -s /sbin/nologin www
4、预编译
[root@localhost ~]# cd nginx-1.13.4
[root@localhost nginx-1.13.4]# ./configure --prefix=/usr/local/nginx --user=www --group=www --with-http_ssl_module --with-http_stub_status_module
5、编译及安装
[root@localhost nginx-1.13.4]# make && make install
6、创建软连接
[root@localhost nginx-1.13.4]# ln -s /usr/local/nginx/sbin/nginx /usr/sbin
7、启动Nginx服务
[root@localhost nginx-1.13.4]# nginx -t
[root@localhost nginx-1.13.4]# nginx
8、访问
#浏览器访问服务器(192.168.0.117),如下图
三、安装Mysql服务
#Mysql安装
1、下载boost库(MYSQL5.7及以上需要,必须安装)
[root@localhost ~]# yum -y install wget
[root@localhost ~]# wget -c https://mirrors.yangxingzhen.com/mysql/boost_1_59_0.tar.gz
[root@localhost ~]# tar zxf boost_1_59_0.tar.gz -C /usr/local/
2、下载依赖包
[root@localhost ~]# yum -y install ncurses ncurses-devel perl perl-devel gcc gcc-c++ cmake make openssl-devel openssl
3、建立MYSQL用户
[root@localhost ~]# useradd -s /sbin/nologin mysql
4、下载MYSQL-5.7.22源码包
[root@localhost ~]# wget -c https://mirrors.yangxingzhen.com/mysql/mysql-5.7.22.tar.gz
[root@localhost ~]# tar zxf mysql-5.7.22.tar.gz
[root@localhost ~]# cd mysql-5.7.22
[root@localhost mysql-5.7.22]# cmake . -DCMAKE_INSTALL_PREFIX=/usr/local/mysql \
-DMYSQL_UNIX_ADDR=/tmp/mysql.sock \
-DMYSQL_DATADIR=/data/mysql \
-DSYSCONFDIR=/etc \
-DEXTRA_CHARSETS=all \
-DDEFAULT_CHARSET=utf8 \
-DDEFAULT_COLLATION=utf8_general_ci \
-DWITH_MYISAM_STORAGE_ENGINE=1 \
-DWITH_INNOBASE_STORAGE_ENGINE=1 \
-DWITH_MEMORY_STORAGE_ENGINE=1 \
-DWITH_PARTITION_STORAGE_ENGINE=1 \
-DDOWNLOAD_BOOST=1 \
-DWITH_BOOST=/usr/local/boost_1_59_0 \
-DENABLED_LOCAL_INFILE=1 \
-DMYSQL_TCP_PORT=3306 \
-DWITH_READLINE=1 \
-DMYSQL_USER=mysql \
-DWITH_SSL=yes
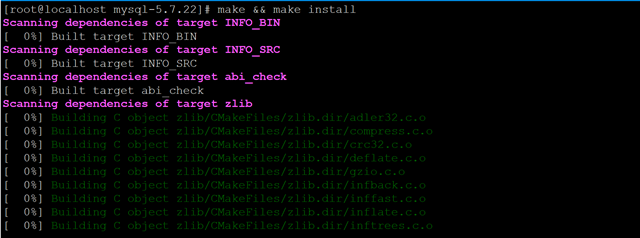
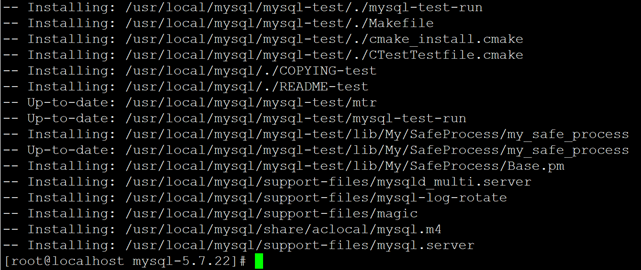
[root@localhost mysql-5.7.22]# make && make install
5、创建Mysql数据存储目录
[root@localhost mysql-5.7.22]# mkdir -p /data/mysql
[root@localhost mysql-5.7.22]# chown -R mysql.mysql /data/mysql
6、编辑Mysql主配置文件
[root@localhost mysql-5.7.22]# vim /etc/my.cnf
[client]
default-character-set=utf8
socket = /usr/local/mysql/mysql.sock

[mysql]
port = 3306
default-character-set=utf8
socket = /usr/local/mysql/mysql.sock

[mysqld]
user = mysql
basedir = /usr/local/mysql
datadir = /data/mysql
port = 3306
character_set_server=utf8
pid-file = /usr/local/mysql/mysqld.pid
socket = /usr/local/mysql/mysql.sock
log-error = /tmp/mysqld.log
server-id = 1
log-bin =mysql
sql_mode=NO_ENGINE_SUBSTITUTION,STRICT_TRANS_TABLES,NO_AUTO_CREATE_USER,NO_AUTO_VALUE_ON_ZERO,NO_ZERO_IN_DATE,NO_ZERO_DATE,ERROR_FOR_DIVISION_BY_ZERO,PIPES_AS_CONCAT,ANSI_QUOTES
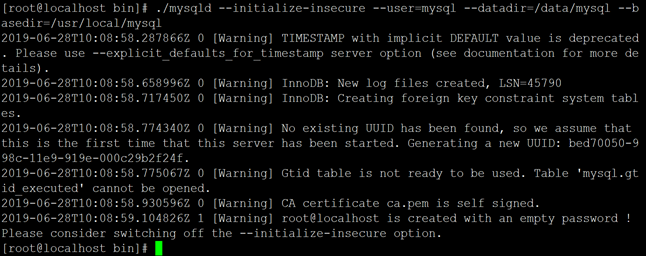
7、初始化数据库(生成空密码,生成随机密码--initialize)
[root@localhost mysql-5.7.22]# cd /usr/local/mysql/bin
[root@localhost bin]# ./mysqld --initialize-insecure --user=mysql --datadir=/data/mysql --basedir=/usr/local/mysql
8、配置成系统服务
[root@localhost bin]# cp /usr/local/mysql/support-files/mysql.server /etc/init.d/mysqld
[root@localhost bin]# chmod o+x /etc/init.d/mysqld
[root@localhost bin]# chown -R mysql.mysql /usr/local/mysql
[root@localhost bin]# service mysqld start
[root@localhost bin]# chkconfig --add mysqld
[root@localhost bin]# chkconfig mysqld on
[root@localhost bin]# ln -s /usr/local/mysql/bin/* /usr/bin
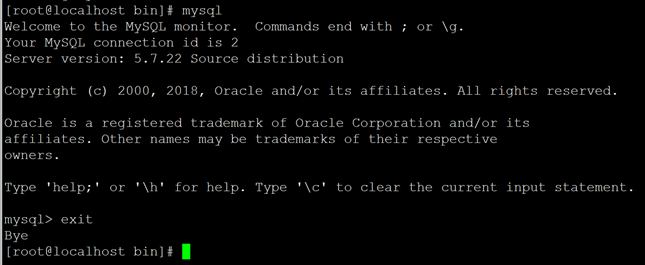
[root@localhost bin]# mysql
#数据库安装配置成功,退出则输入"quit"
四、搭建PHP运行环境
#安装libiconv
1、下载libiconv软件包
[root@localhost ~]# wget -c https://mirrors.yangxingzhen.com/libiconv/libiconv-1.15.tar.gz
2、解压libiconv软件包
[root@localhost ~]# tar zxf libiconv-1.15.tar.gz
[root@localhost ~]# cd libiconv-1.15
3、预编译
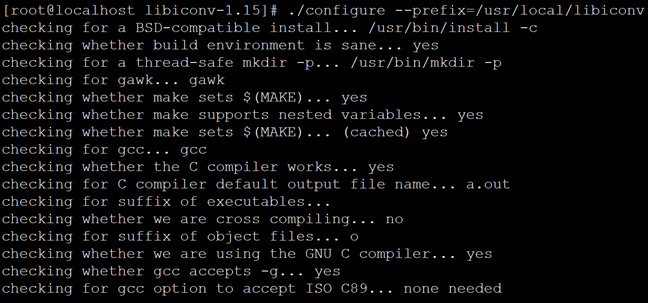
[root@localhost libiconv-1.15]# ./configure --prefix=/usr/local/libiconv
4、编译及安装
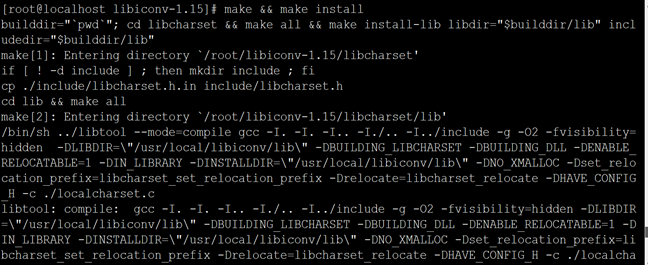
[root@localhost libiconv-1.15]# make && make install
#安装 PHP-7.2.9
1、安装编工具及插件(下载阿里云yum源)
[root@localhost ~]# wget -O /etc/yum.repos.d/epel.repo http://mirrors.aliyun.com/repo/epel-7.repo
[root@localhost ~]# yum -y install gcc gcc-c++ libvpx libvpx-devel libjpeg-turbo libjpeg-turbo-devel libzip libpng libpng-devel freetype-devel libxml2 libxml2-devel gd gd-devel libxslt-devel libcurl-devel libmcrypt-devel mhash mcrypt openssl openssl-devel
2、解压PHP软件包
[root@localhost ~]# tar zxf php-7.2.9.tar.gz
[root@localhost ~]# cd php-7.2.9
3、预编译
[root@localhost php-7.2.9]# ln -s /usr/lib64/libldap* /usr/lib
[root@localhost php-7.2.9]# ln -s /usr/local/mysql/lib/libmysqlclient.so.18 /usr/lib64
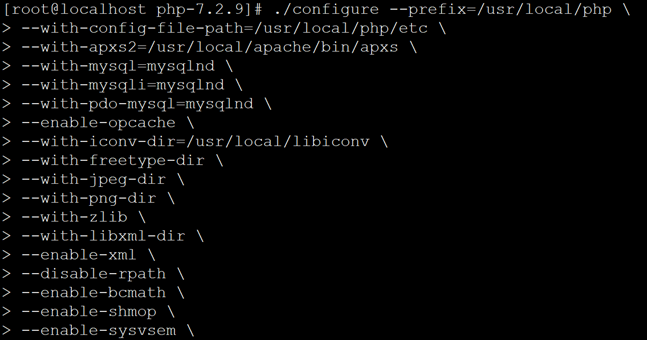
[root@localhost php-7.2.9.]# ./configure --prefix=/usr/local/php \
--with-config-file-path=/usr/local/php/etc \
--with-mysql=/usr/local/mysql \
--with-mysqli=/usr/local/mysql/bin/mysql_config \
--with-pdo-mysql=/usr/local/mysql \
--enable-opcache \
--with-iconv-dir=/usr/local/libiconv \
--with-freetype-dir \
--with-jpeg-dir \
--with-png-dir \
--with-zlib \
--with-libxml-dir \
--enable-xml \
--disable-rpath \
--enable-bcmath \
--enable-shmop \
--enable-sysvsem \
--enable-inline-optimization \
--with-curl \
--enable-mbregex \
--enable-fpm \
--enable-mbstring \
--with-mcrypt \
--with-gd \
--enable-gd-native-ttf \
--with-openssl \
--with-mhash \
--enable-pcntl \
--enable-sockets \
--with-xmlrpc \
--enable-soap \
--enable-short-tags \
--enable-static \
--with-fpm-user=www \
--with-fpm-group=www \
--enable-ftp \
--enable-zip \
--with-gettext
4、编译及安装
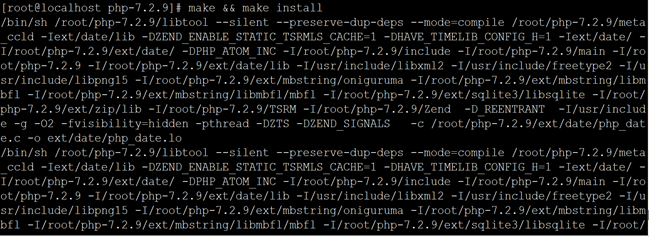
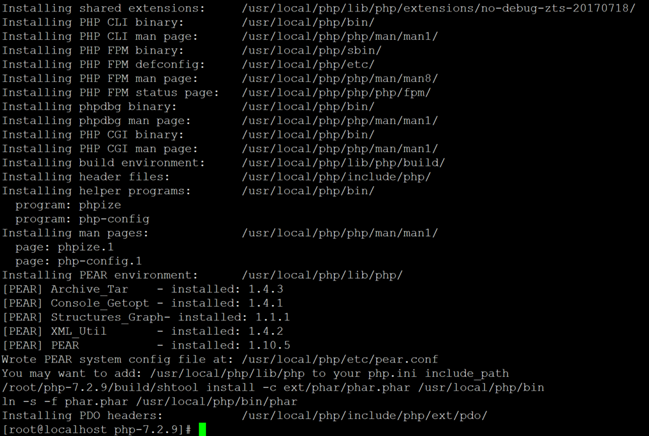
[root@localhost php-7.2.9.]# make && make install
5、配置PHP
[root@localhost php-7.2.9]# cp /usr/local/php/etc/php-fpm.conf.default /usr/local/php/etc/php-fpm.conf
[root@localhost php-7.2.9]# cp php.ini-production /usr/local/php/etc/php.ini
[root@localhost php-7.2.9]# cp /usr/local/php/etc/php-fpm.d/www.conf.default /usr/local/php/etc/php-fpm.d/www.conf
[root@localhost php-7.2.9]# ln -s /usr/local/php/sbin/php-fpm /usr/bin
6、编辑PHP测试页面
[root@localhost php-7.2.9]# cd /usr/local/nginx/html
[root@localhost html]# vim index.php
<?php
phpinfo();
?>
7、配置Nginx
#编辑nginx.conf配置文件,内容如下
[root@localhost html]# vim /usr/local/nginx/conf/nginx.conf
    user www www;
    worker_processes 1;
    worker_cpu_affinity 00000001;
    worker_rlimit_nofile 10240;
    error_log /usr/local/nginx/logs/error.log;
    pid /usr/local/nginx/logs/nginx.pid;
events {
    use epoll;
    worker_connections 10240;
    multi_accept on;
    }
http {
    include mime.types;
    default_type application/octet-stream;
    access_log /usr/local/nginx/logs/access.log;
    sendfile on;
    tcp_nopush on;
    keepalive_timeout 120;
    tcp_nodelay on;
    gzip on;
    gzip_min_length 1k;
    gzip_buffers 4 16k;
    gzip_http_version 1.1;
    gzip_comp_level 6;
    gzip_types text/plain application/x-javascript text/css application/xml;
    gzip_vary on;
    client_max_body_size 10m;
    client_body_buffer_size 128k;
    proxy_connect_timeout 90;
    proxy_send_timeout 90;
    proxy_buffer_size 4k;
    proxy_buffers 4 32k;
    proxy_busy_buffers_size 64k;
    large_client_header_buffers 4 4k;
    client_header_buffer_size 4k;
    open_file_cache_valid 30s;
    open_file_cache_min_uses 1;
    include vhosts/*;
server {
    listen 80;
    server_name localhost;
    location / {
    root html;
    index index.php index.html index.htm;
    }
    location ~ \.php$ {
    fastcgi_pass 127.0.0.1:9000;
    fastcgi_index index.php;
    fastcgi_param SCRIPT_FILENAME $document_root$fastcgi_script_name;
    include fastcgi_params;
    }
}
}
#保存退出
8、重启Nginx服务,启动php-fpm服务
[root@localhost html]# nginx -s reload
[root@localhost html]# /usr/local/php/sbin/php-fpm
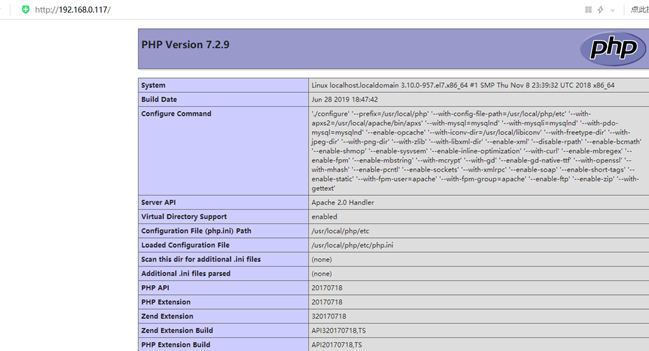
9、浏览器访问服务器:http://192.168.0.117
10、测试数据库
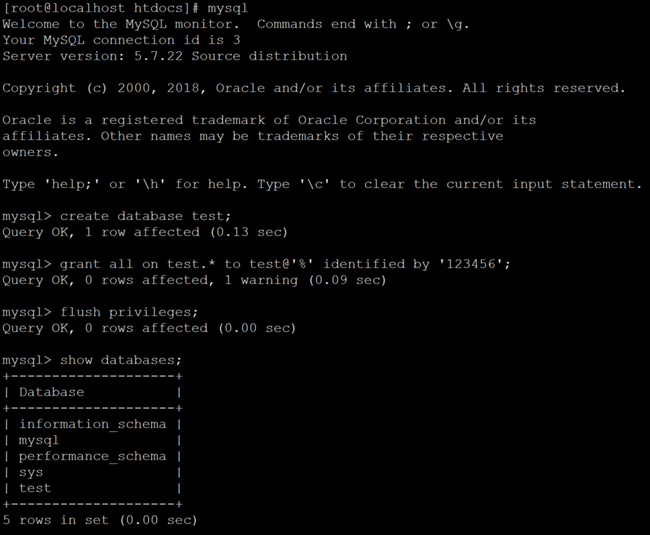
[root@localhost html]# mysql
mysql> create database test;
mysql> grant all on test.* to test@'%' identified by '123456';
mysql> flush privileges;
[root@localhost html]# vim info_mysql.php
<?php
$link=mysqli_connect('192.168.0.117','test','123456');
if($link) echo "<h1>Success!!</h1>";
else echo "Fail!!";
?>
[root@localhost html]# nginx -s reload
11、访问测试
#浏览器访问http://192.168.0.117/info_mysql.php
至此LNMP环境搭建完毕!!
五、安装Zabbix监控平台
1、安装依赖包
[root@localhost ~]# yum -y install net-snmp net-snmp-devel perl-DBI curl curl-devel libevent libevent-devel
2、下载Zabbix软件包
[root@localhost ~]# wget -c https://mirrors.yangxingzhen.com/zabbix/zabbix-4.0.7.tar.gz
3、解压Zabbix软件包
[root@localhost ~]# tar xf zabbix-4.0.7.tar.gz
4、预编译
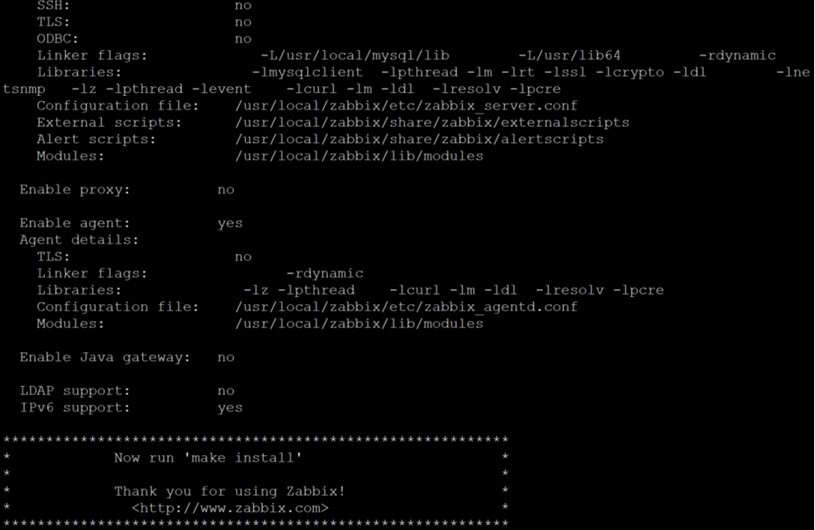
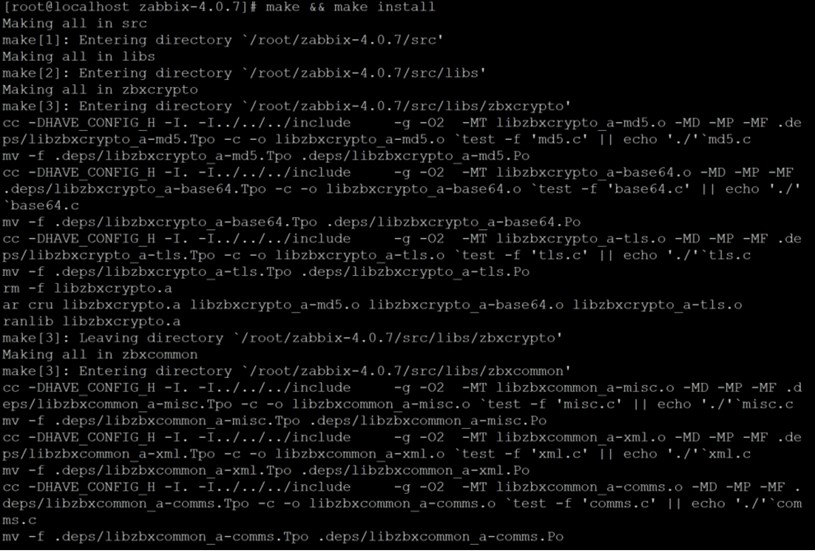
[root@localhost zabbix-4.0.7]# ./configure --prefix=/usr/local/zabbix --enable-server --enable-agent --with-mysql --enable-ipv6 --with-net-snmp --with-libcurl
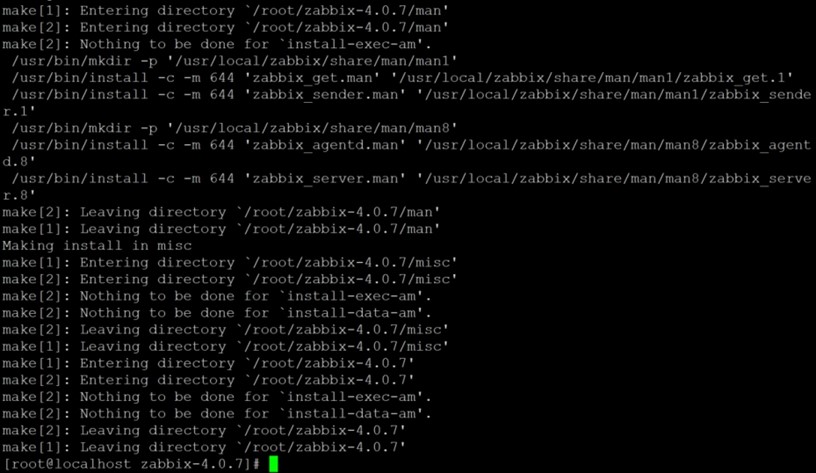
[root@localhost zabbix-4.0.7]# make && make install
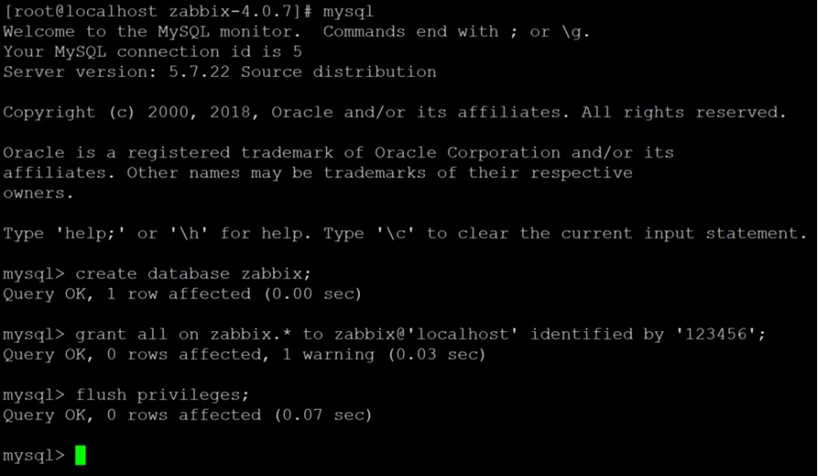
6、创建数据库并授权
[root@localhost zabbix-4.0.7]# mysql
mysql> create database zabbix;
mysql> grant all on zabbix.* to zabbix@'localhost' identified by '123456';
mysql> flush privileges;
7、导入数据到zabbix数据库
[root@localhost mysql]# mysql -uzabbix -p123456 zabbix < schema.sql
[root@localhost mysql]# mysql -uzabbix -p123456 zabbix < images.sql
[root@localhost mysql]# mysql -uzabbix -p123456 zabbix < data.sql
8、备份配置文件
[root@localhost mysql]# cd /usr/local/zabbix/etc/
[root@localhost etc]# cp zabbix_server.conf zabbix_server.conf.bak
9、编辑zabbix_server.conf配置文件
[root@localhost etc]# vim zabbix_server.conf
#保留以下选项
LogFile=/tmp/zabbix_server.log
DBHost=localhost
DBName=zabbix
DBUser=zabbix
DBPassword=123456
[root@localhost etc]# cp /root/zabbix-4.0.7/misc/init.d/tru64/zabbix_server /etc/init.d/
[root@localhost etc]# chmod o+x /etc/init.d/zabbix_server
11、拷贝zabbix数据文件到Nginx发布目录下
[root@localhost etc]# \cp -a /root/zabbix-4.0.7/frontends/php/* /usr/local/nginx/html/
12、建立zabbix用户(启动需要),软连接(启动需要)
[root@localhost etc]# useradd -s /sbin/nologin zabbix
[root@localhost etc]# ln -s /usr/local/zabbix/sbin/* /usr/local/sbin
13、重启Nginx、启动zabbix_server
[root@localhost etc]# /usr/local/nginx/sbin/nginx
[root@localhost etc]# ln -s /usr/local/mysql/lib/libmysqlclient.so.20 /usr/lib64
[root@localhost etc]# service zabbix_server restart
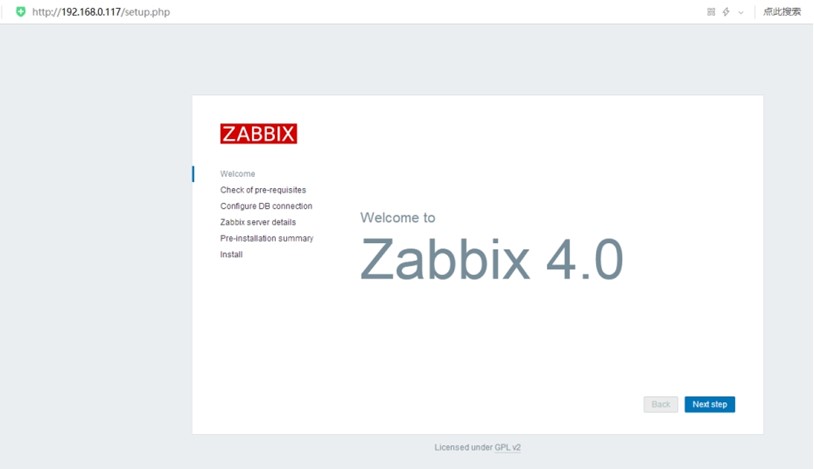
14、打开浏览器访问本机IP(192.168.0.117),设置Zabbix web管理界面安装配置,点击next step,如下图
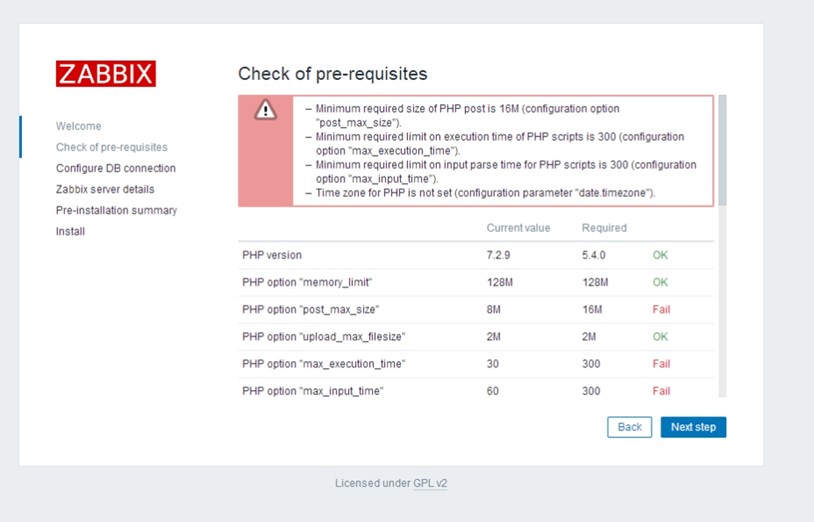
15、点击next step,出现以下页面,如图
16、编辑php.ini,修改以下参数
[root@localhost etc]# sed -i 's/post_max_size = 8M/post_max_size = 16M/' /usr/local/php/etc/php.ini
[root@localhost etc]# sed -i 's/max_execution_time = 30/max_execution_time = 300/' /usr/local/php/etc/php.ini
[root@localhost etc]# sed -i 's/max_input_time = 60/max_input_time = 300/' /usr/local/php/etc/php.ini
[root@localhost etc]# sed -i 's/;date.timezone =/date.timezone = Asia\/Shanghai/' /usr/local/php/etc/php.ini
[root@localhost etc]# sed -i 's/;always_populate_raw_post_data = -1/always_populate_raw_post_data = -1/' /usr/local/php/etc/php.ini
#保存退出,重启php-fpm
[root@localhost etc]# pkill php-fpm
[root@localhost etc]# /usr/local/php/sbin/php-fpm
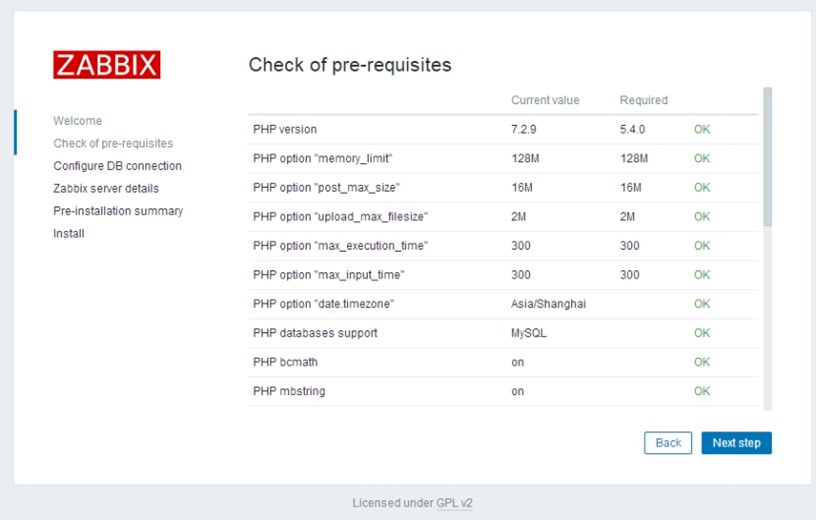
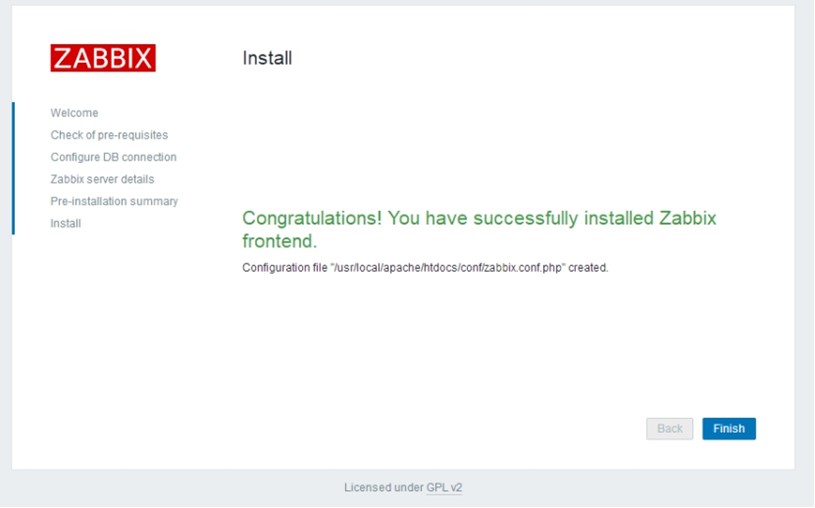
17、刷新浏览器,如下图,点击next step
18、输入数据库名、用户、密码、端口,点击next step,如下图
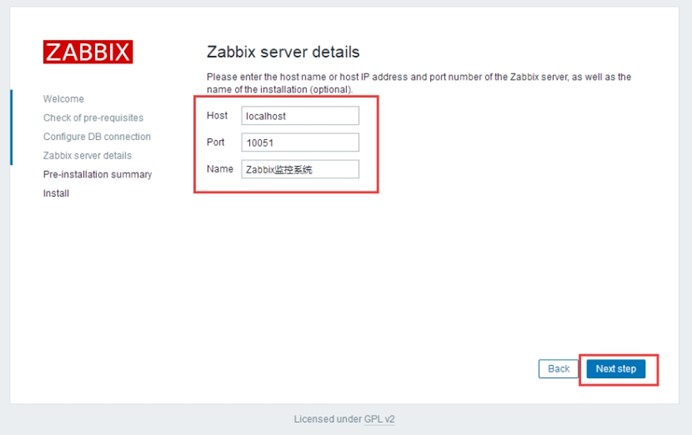
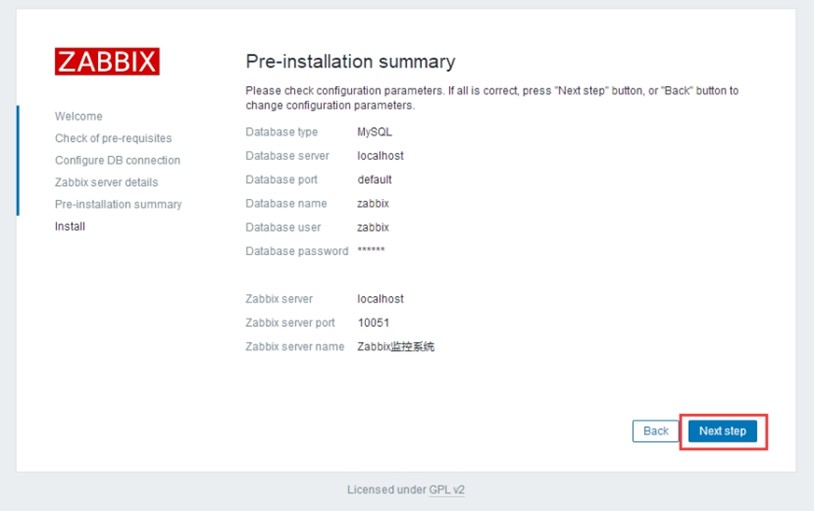
19、填写Zabbix Title显示,可以为空,可以输入自定义的名称
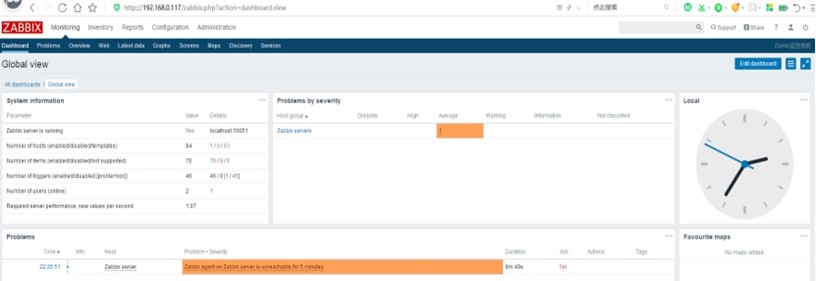
20、访问Zabbix web界面,默认用户名和密码为:admin/zabbix
21、默认是英文,修改成中文,如下图
至此,Zabbix监控平台搭建完毕。。
若文章图片、下载链接等信息出错,请在评论区留言反馈,博主将第一时间更新!如本文“对您有用”,欢迎随意打赏,谢谢!






登录回复
向大佬学习
登录回复
亲测,写的不错